Importing & Managing QuickBooks Online Data in Hour Timesheet
Overview
Hour Timesheet integrates with QuickBooks Online to keep your employees, customers/jobs, service items, classes, and vendors in sync. All chargeable data originates in QuickBooks Online and is imported into Hour Timesheet through the Connect to QuickBooks page.
This guide explains:
- How to sync (import) new data from QuickBooks Online
- What data can be imported
- Where to find the imported data inside Hour Timesheet
- How to map and assign charge codes so employees can use them on their timesheets
1. Before You Begin
To sync data, you must:
- Have an active QuickBooks Online company file
- Be logged into Hour Timesheet as an Admin or Accountant
- Have already completed the initial QuickBooks Online connection during setup
2. What Data Can Be Imported
Hour Timesheet imports the following from QuickBooks Online:
- Employees (including email addresses)
- Customers / Jobs / Projects
- Service Items
- Classes
- Vendors
Important:
Hour Timesheet does not allow these items to be created inside HTS. They must be added in QuickBooks Online first, then imported.
Employees can be created in HTS, but those manually created employees cannot sync timesheet data back to QuickBooks.
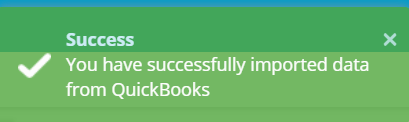
3. How to Sync (Import) Data From QuickBooks Online
- Log in to your Hour Timesheet account as an Admin or Accountant.
- Navigate to Settings → Connect to QuickBooks.
- Check the boxes next to the data types you want to import.
- Click Import to begin the sync.

When to run the import:
Run the import any time you add new employees, customers/jobs, service items, classes, or vendors in QuickBooks Online. HTS will not see new data until you import it.
4. Where to Find Imported Data in Hour Timesheet
Imported data is now available, but employees cannot use these codes on their timesheets until they are mapped and assigned.
5. Mapping Codes in Hour Timesheet (Required)
Mapping connects your QuickBooks data to Hour Timesheet’s charge code system.
- Go to Accounting → Codes.
- Click Create New.
- Select the required Customer/Job (required).
- Select optional Service Items.
- Select optional Classes.
- (QuickBooks Desktop only) Select Payroll Items.
- Click Add.
This creates an Authorized Charge Code that can be assigned to employees.

6. Assigning Charge Codes to Employees
Charge code associations determine what each employee can select when entering time.
- Navigate to Accounting → Codes.
- Check the box next to the Available Authorized Charge Code(s) you want to assign.
- From the Available Employees list, select the employees who should have access to that code.
- Click the > arrow to move them into the assigned list.
- Set a Start Effective Date (and optional End Date).
- Click Assign.
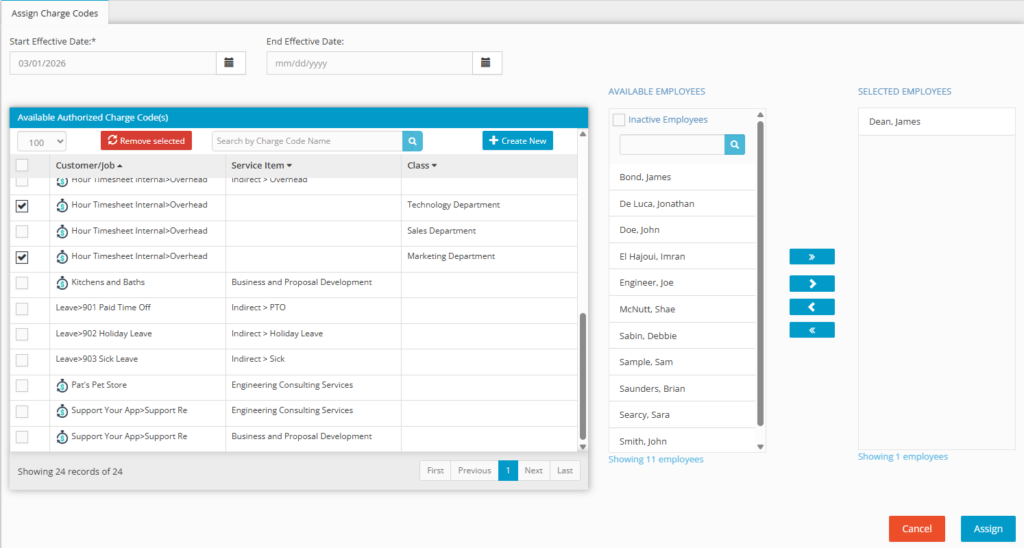
Note:
If no charge code associations are created, employees will see all codes on their timesheets.