Adding a Web Connector File From QuickBooks
Before You Begin
You’ll need a QuickBooks Web Connector file (.qwc) from Hour Timesheet Support. This file includes your HTS credentials and is required to complete the setup.
If you haven’t received the file yet, email support@hourtimesheet.com with the following details:
- Your HTS account URL
- The email address of the person who will run the Web Connector
- Customers who host their QuickBooks in the cloud and need to add the web connector file manually
- Customers looking to replace an existing web connector file (new computer, new admin, etc.)
- Save the file Download the file from your Hour Timesheet support email and save it to a location on your computer you can easily find (e.g., Desktop or Downloads).
- Open QuickBooks Launch your QuickBooks company file and log in as the Admin user.
- Access Web Services In QuickBooks, go to File > Update Web Services.
- Add the Application Click Add an Application, then browse to the file you saved in Step 1. Select it and click OK.
- Authorize Access When prompted with the “Authorize New Web Service” screen, click OK to grant Hour Timesheet access.
- Approve Certificate Access If you see an application certificate, choose:
“Yes, always allow access even if QuickBooks is not running” (this is the last radio button). - Confirm Admin Access From the dropdown, select the Admin user, then click Continue. You should now see the Hour Timesheet Web Connector listed.
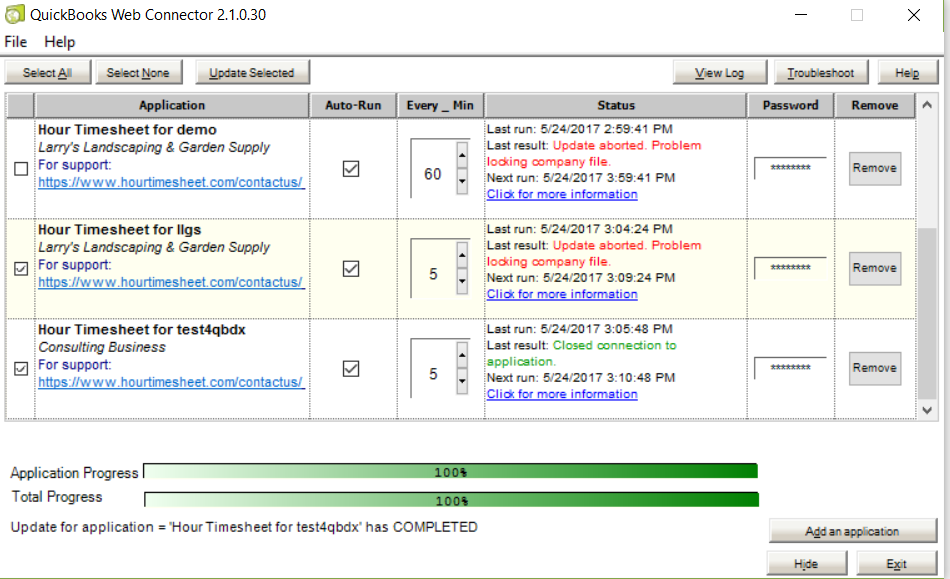
- Enter Your HTS Password In the Web Connector window, enter the password you use to log in to Hour Timesheet in the Password field.
- Run the Sync Check the box next to the Hour Timesheet application, then click Update Selected to complete the sync.
- Customer/Job list
- Payroll Items
- Service Items
- Class
- Employees
- 1099’s
Note: This person must already be listed as a user in your Hour Timesheet account.
NOTE: You will need to be logged in to your company QuickBooks file with ADMIN permission and logged in to QuickBooks in Single User Mode initially to successfully set up the web connector file.
Right Networks Users click here -> https://helpdesk.rightnetworks.com/s/article/QuickBooks-Web-Connector
Who is this article for:
Step-by-Step Instructions
Why use a web connector?
1. Auto-sync QuickBooks data into Hour Timesheet.
Because Hour Timesheet offers easy QuickBooks integration, manual entry of data is not required in your Hour Timesheet account. The web connector will successfully auto-populate all of your data from your company QuickBooks Desktop file.
2. Auto-populate employee timecard data in QuickBooks.
All timesheet details import and populate the employee timecard in QuickBooks making it simple to process your payroll and create your customer invoices. The QuickBooks timecard includes:
Time
Export hours into QuickBooks with each entry fully mapped to the correct Job code so your labor posts to the right job automatically.
Leave
Exports leave taken into QuickBooks so it posts cleanly into the employee’s paycheck with the right earnings type.
Comments
Export daily hours‑worked comments into QuickBooks so they appear directly on customer invoices for transparent billing.
NOTE: The Web Connector is designed to access only one company file on a Windows desktop computer. If you have multiple companies and/or Hour Timesheet accounts that sync with QuickBooks, you will need a separate web connector file for each account and/our admin user.