Have a Question?
Tracking Billable Time in Hour Timesheet | Setup Instructions
Business Rules and Billable Time
Navigate to Settings/Timesheet tab
(check box) Restrict Employees from charging work hour in advance – When this box is checked, users will not be allowed to enter time entries for billable items on the timesheet. NOTE: This box should be checked for DCAA compliance.Setting Charge Codes as Billable or Non-Billable
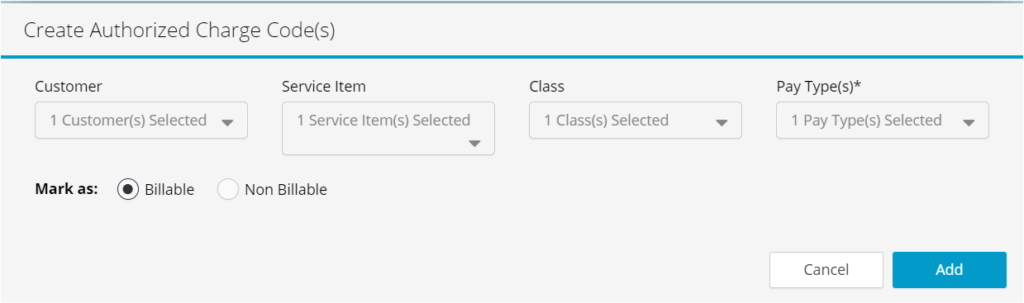
Creating Employee Charge Code Associations Creating charge code associations by employee will limit what each user is able to charge to when entering hours on a timesheet. Employees can have multiple charge code associations and charge codes can be assigned to multiple employees.
- Navigate to the Accounting/Codes menu
- Click the Create New button
- Select the Customer/Job to expand the list of Select Charge Codes. Select from the list the Customer/Job(s) needed for association to employee(s) REQUIRED
- Select the Service Item to expand the list of Select Service Items. Select from the list the Service Items needed for association to employee(s) OPTIONAL
- Select the Class list to expand the list of Classes. Select from the list the Classes needed for association to employee(s) OPTIONAL
- Select the Pay Type to expand the list of Select Pay Type(s). Select from the list the Pay Types needed for association to employee(s) OPTIONAL
- Choose the Billable or Non-Billable radio button
- Click the Add button
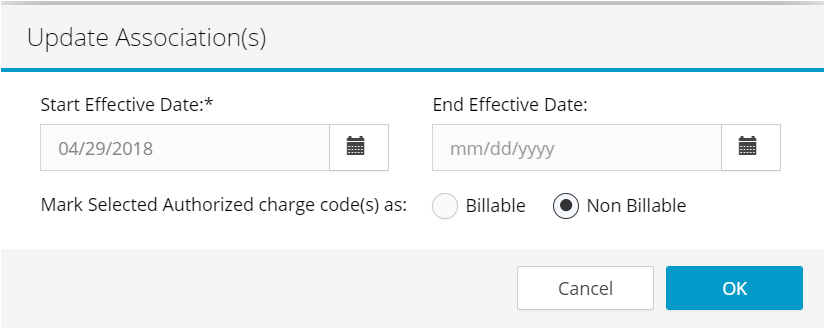
Setting Employee Specific Charge Codes as Billable vs Non-Billable
This page displays the charge code associations for each employee (which limit what each user can charge to when entering hours on a timesheet). Employees can have multiple charge code associations and charge codes can be assigned to multiple employees.
- Navigate to the Employee/Detail menu
- Select the Employee from the Available Employees list box
- Click the edit icon for the charge code to be updated
- Select the Billable or Non-Billable radio button
- Click Ok